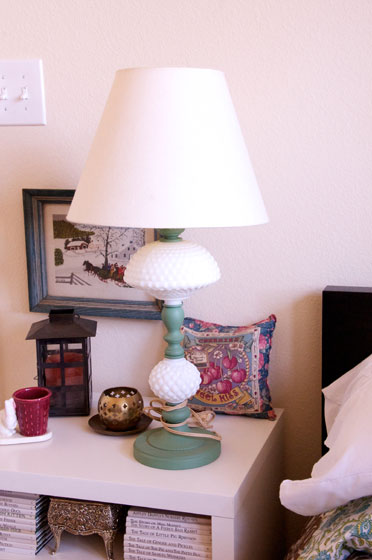
I decided it was time for a lamp update. Here’s what I started with:
She wasn’t terrible looking, but the shade was starting to show the signs of age, and although I really like the green I chose to paint her years ago, I just could’t seem to make it work with the other colors in the room. The guest room has always suffered from too many colors. I decided it was time for a neutral color for our friend Ms. Lamp.
She also needed a new plug. Hello 1950s.
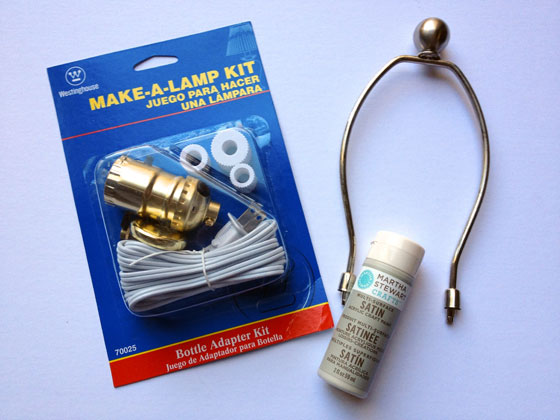
So I consulted my gal Martha for the paint, Home Depot for the lamp kit, and Ikea for the shade (sorry, I forgot to photograph the shade.).
The current shade (shown above) doesn’t require a harp (the metal frame you attach the lamp shade to), so I absconded one (Yes, I just used the word “absconded.”) from another lamp we own that also has a shade that doesn’t require a harp.
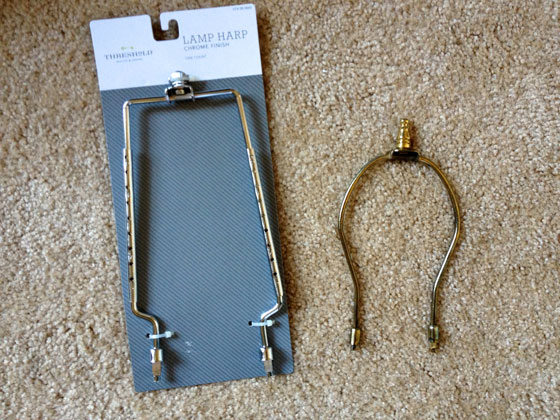
However, once I put the harp on the lamp and attached the new, much bigger, shade to the harp, I realized I needed a bigger harp. I found this pretty awesome one at Target. It’s adjustable! You can see the old harp was definitely too small. As I’m writing this, I’m realizing that the photo below of the two harps shows you the wrong “too-small” harp. I was actually planning to use the brushed nickle one from the photo above, but you get the idea.
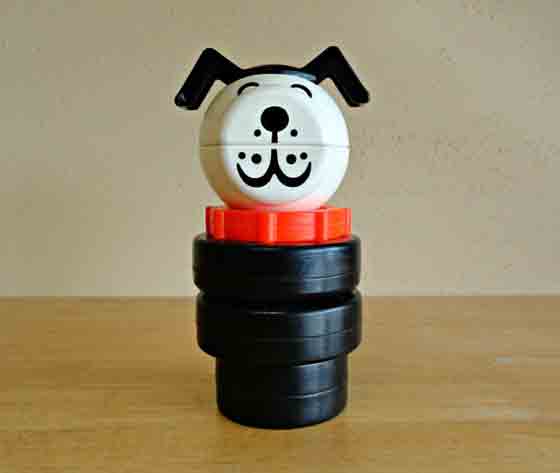
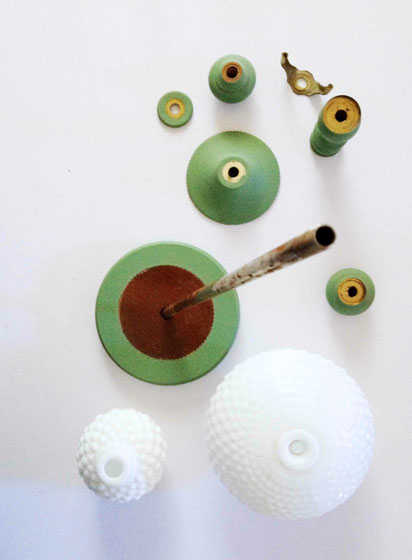
Before I started painting, I needed to disassemble the lamp. It was pretty easy. I just had to remove the socket (where the light bulb goes) from the top of the lamp and then pull each piece off the metal pipe that held them all together. Writing about it now, it reminds me of this Fisher Price dog I had as a kid. Remember this little guy?
You can buy him here.
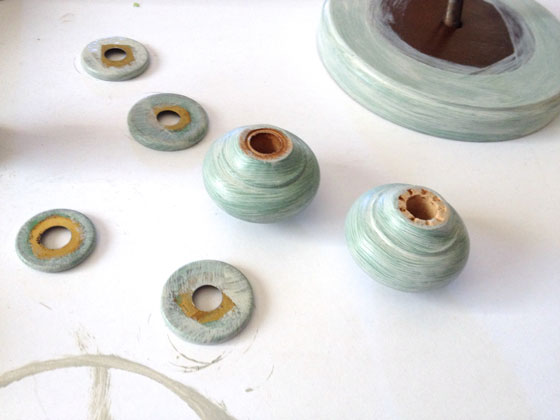
Once the lamp was disassembled, it was time for paint!
This was my first experience with Martha’s fairly-new line of craft paints, and I’m really happy with the quality. They’re nice and thick and give good coverage. Plus they come in a lovely assortment of colors and finishes, from matte to high-gloss and glitter too (if you’re into that sort of thing). I chose “Wet Cement” which is a lovely light grey. Since I was starting with a really dark color and trying to cover it with a really light color, it took quite a few coats (probably about 5 or 6). I absolutely should have used a primer first, but I didn’t think about it until it was time to paint. Next time I’ll remember (probably not).
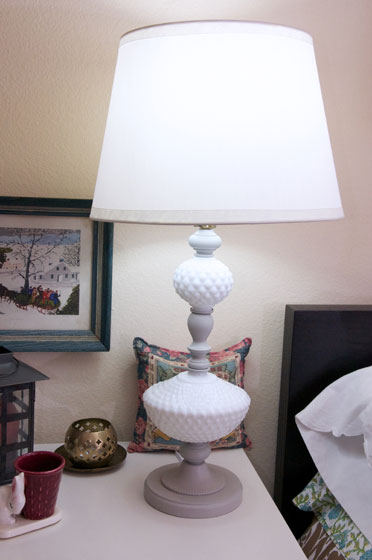
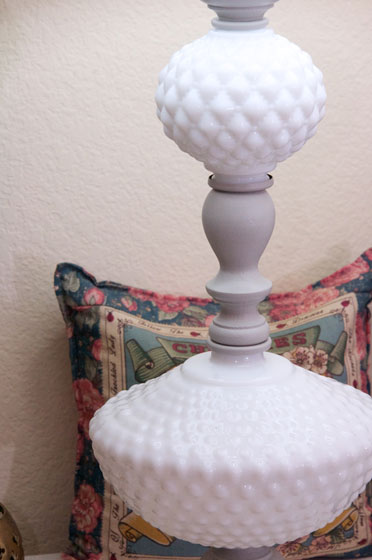
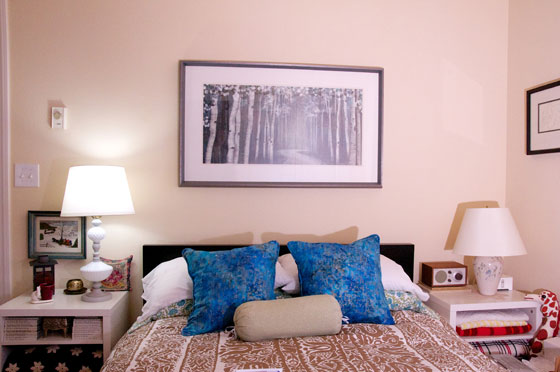
Once I’d applied enough coats of paint and everything had dried nicely, I just reassembled all the pieces on the metal pipe (As you may have noticed, I changed the order a little.). Then I fished the new plug wire up through the pipe until it came out the top of the pipe. I connected the wires to the new socket and screwed it to the top of the pipe (the basic instructions are on the back of the package). And here’s what she looks like now:
As you can see, there’s still a thousand colors going on in here. This room is a bit of a hot mess, but Ms. Lamp is doing her best to spiff things up a bit. Baby steps.
Anyone else working on a lamp makeover? Tell me all about it in the comments!

