I went to Spain!

Spain. It’s been on my list of countries to visit for a long time. So when Zach had to go there on business back in May of this year (sorry I’m SO late in posting this), the opportunity to tag along was just too great to pass up.

Since we took a red-eye flight, we didn’t leave San Francisco until Tuesday afternoon. And since we are nine hours behind Spain, we didn’t arrive in Valencia until Wednesday evening (with a quick connecting flight in Zurich, Switzerland along the way). So we lost a day. When we finally landed in Valencia around 9pm, we were exhausted, so we quickly got the rental car, checked into our hotel, and went to bed.

THURSDAY, MAY 30
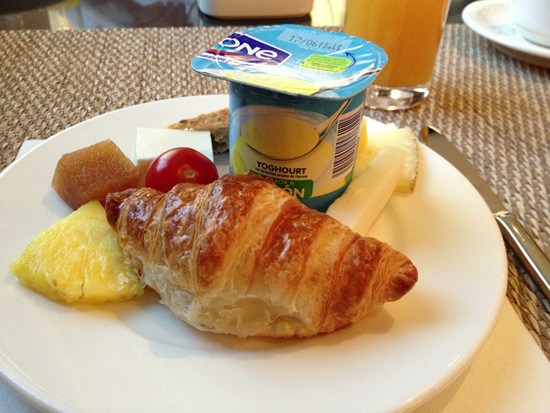
The next morning we had a delicious breakfast at the hotel that included fresh fruit, meats and cheeses, homemade breads, and yogurt, amongst other things.

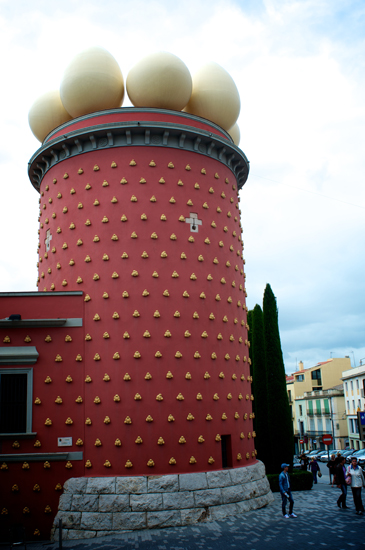
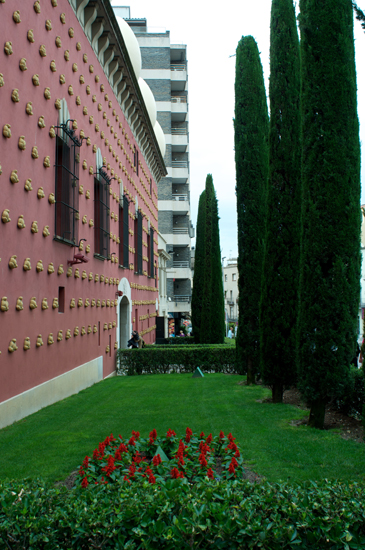
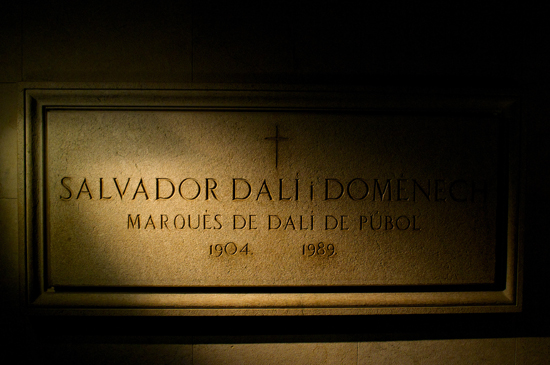
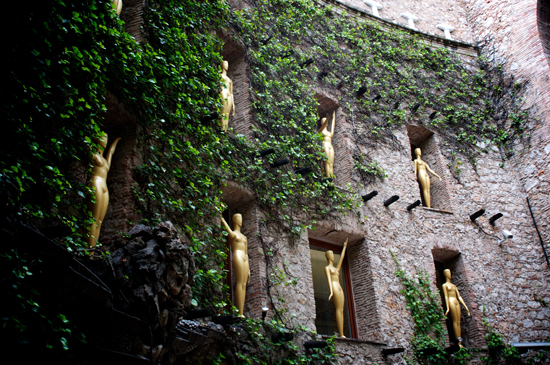
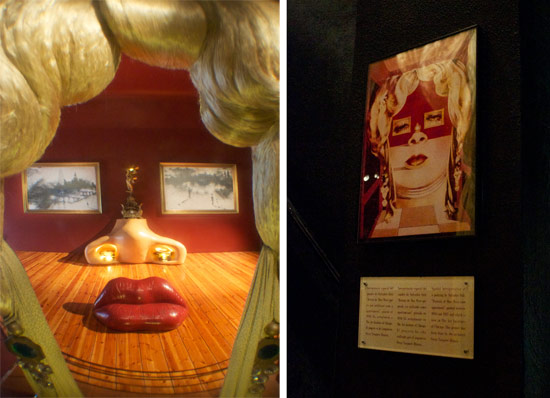
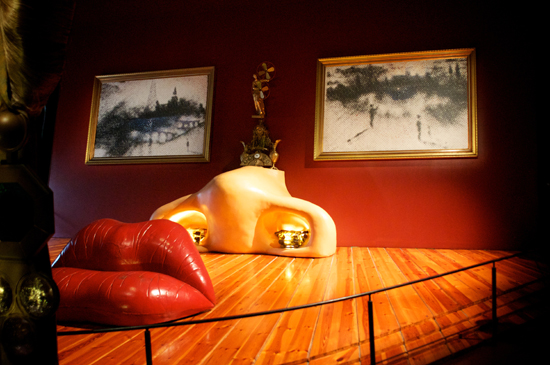
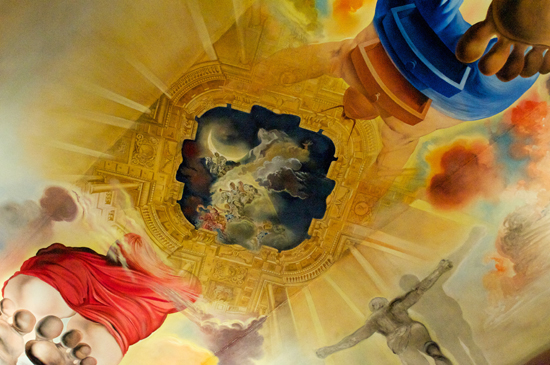
Then we headed north to Girona for a night, stopping at the Dali museum in Figueras along the way.

Zach is a huge Dali fan, but I’m not sure what I think about him. He clearly was extremely creative, and he had mad skills, but I think he may have also been mad. Like certifiably crazy. Or maybe just eccentric. I’m all for eccentric, but his work doesn’t speak to me the way other artists’ work does. Even so, it was a great experience, and I definitely recommend it. There was a great collection of amazing work there – by him, and other artists as well. It’s definitely worth a visit.

This is an installation done by an artist in response to a painting by Dali. There’s a stairway at one end of the room. You can walk up the stairs and at the top you look through a large magnifying glass at the installation below. What you see (on the left) looks like Dali’s painting (on the right). It was a pretty clever effect.

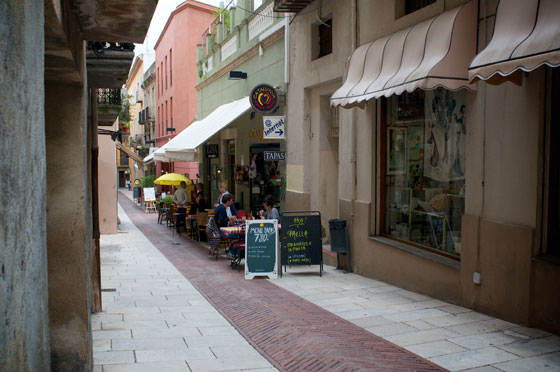
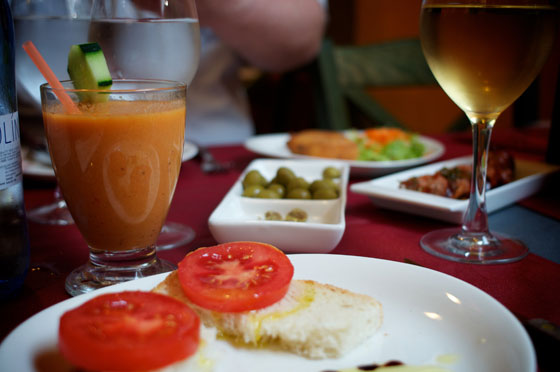
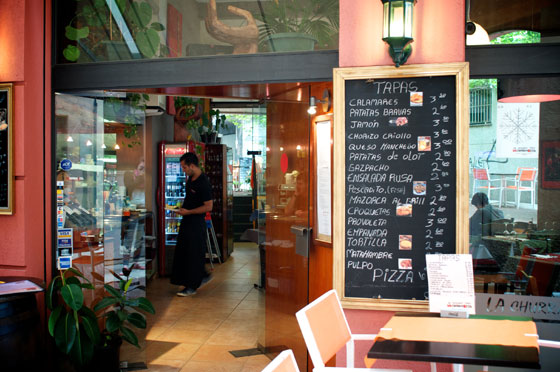
After the museum, we wandered around the quaint little town and eventually found some yummy tapas (“Tape Ass.” “Yeah, that’s not how you say it.” “Yes it is.” A gold star for you if you get the reference. I’ll give you a hint, it’s a British TV show.).

After lunch (It was delicious!), we located a Vodafone (local cell phone company) so we could get wifi. At this point we learned the Spanish pronounce it “wee fee” (Now we know!). The girl there didn’t speak English, so I used my iPhone (yay Google translate) and limited ability to speak Spanish (no excuse after 6 years of Spanish in school) to communicate with her. I think I could be sort of fluent in a couple months, but I need to work on my vocabulary (recognize all the words but can’t always remember what they mean). It was so much fun to try to speak Spanish. The locals are SO friendly. This Vodafone store didn’t have what we wanted, so she directed us to another in the town, which included an employee who spoke English. He was so nice to us. Unfortunately, they didn’t have what we wanted either, but we found something that worked well enough for our needs. We purchased it, for much less than it would have cost in the States (stupid over-priced American technology), and were on our way.

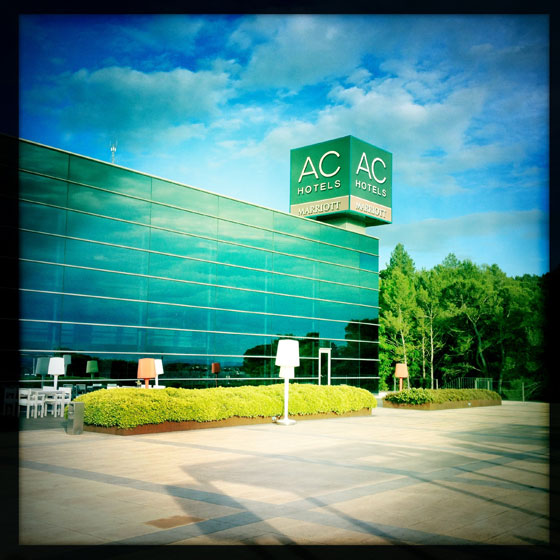
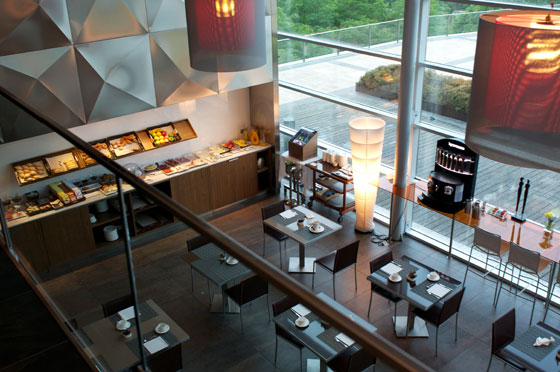
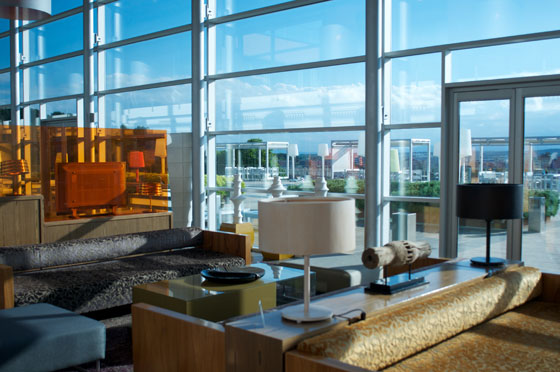
The Girona hotel where we stayed was hip and modern.

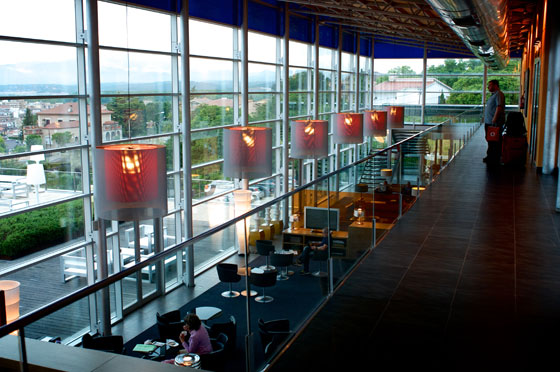
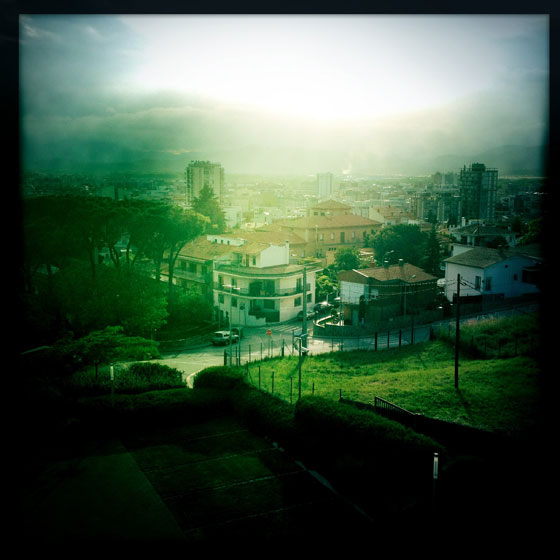
It had a beautiful outdoor veranda with a great view of the city.

Unfortunately most of the photos we have of the outdoor space are on Zach’s camera. I’ll have to dig those up sometime and add them here later. You can kind of see the veranda through the windows in this shot:

And get this… Marriott upgraded us to a suite. For free. (One of the perks of being a Marriott Rewards Platinum member.) Plus we were able to “pay” for most of our hotel stays with points.

Here’s a shot of our swanky hotel room. That huge photo on the other side of the bed is actually printed on glass. It’s a wall and the bathroom is on the other side of it. When you turn on the bathroom light, it illuminates the photo. Super cool.

It was all very posh and a tad surreal. Apropos, I guess, since we were in the land of Dali.

Posted in I went there! | Tagged , | 2 Responses

Chineasy

While perusing the internet today, looking for design inspiration for a project I’m working on, I found this amazing Kickstarter campaign called Chineasy. Described as “a bright and engaging illustrated methodology for learning Chinese through fun and whimsical illustrations,” it’s the brain-child of London-based entrepreneur and self-described geek, ShaoLan Hsueh. I think I may have actually started drooling while I was watching the visually-stunning work presented in the video. Words really can’t describe how in awe I am of ShaoLan and her beautiful designs. Just watch.

Posted in I'm Lovin' | Tagged , , | Leave a comment

Lamp Upgrade

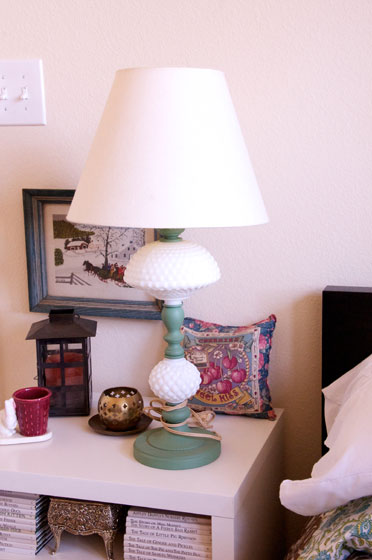
I decided it was time for a lamp update. Here’s what I started with:

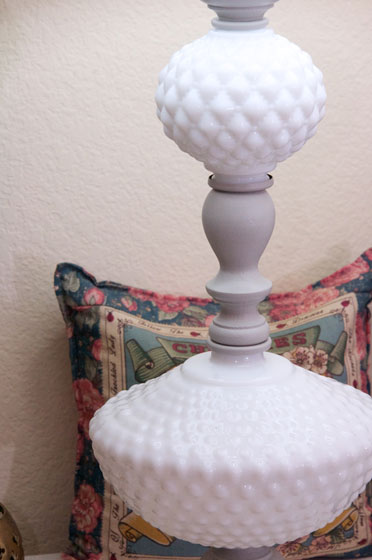
She wasn’t terrible looking, but the shade was starting to show the signs of age, and although I really like the green I chose to paint her years ago, I just could’t seem to make it work with the other colors in the room. The guest room has always suffered from too many colors. I decided it was time for a neutral color for our friend Ms. Lamp.

She also needed a new plug. Hello 1950s.

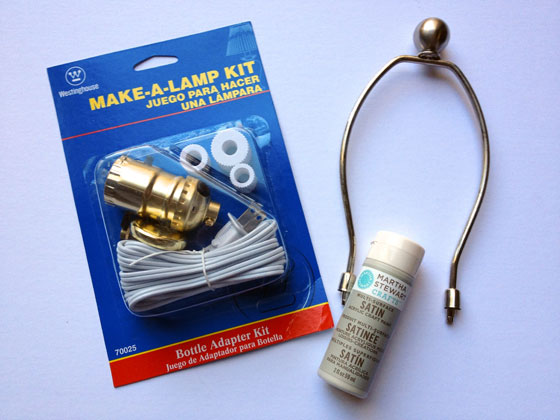
So I consulted my gal Martha for the paint, Home Depot for the lamp kit, and Ikea for the shade (sorry, I forgot to photograph the shade.).

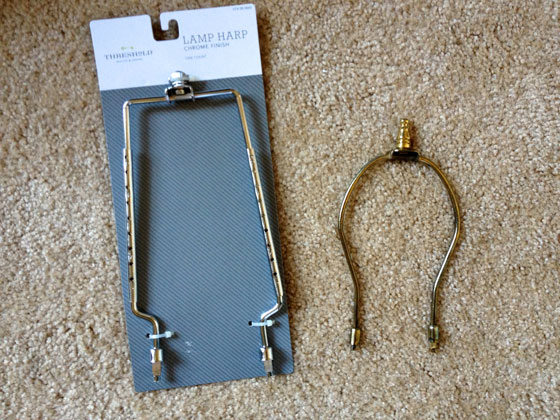
The current shade (shown above) doesn’t require a harp (the metal frame you attach the lamp shade to), so I absconded one (Yes, I just used the word “absconded.”) from another lamp we own that also has a shade that doesn’t require a harp.

However, once I put the harp on the lamp and attached the new, much bigger, shade to the harp, I realized I needed a bigger harp. I found this pretty awesome one at Target. It’s adjustable! You can see the old harp was definitely too small. As I’m writing this, I’m realizing that the photo below of the two harps shows you the wrong “too-small” harp. I was actually planning to use the brushed nickle one from the photo above, but you get the idea.

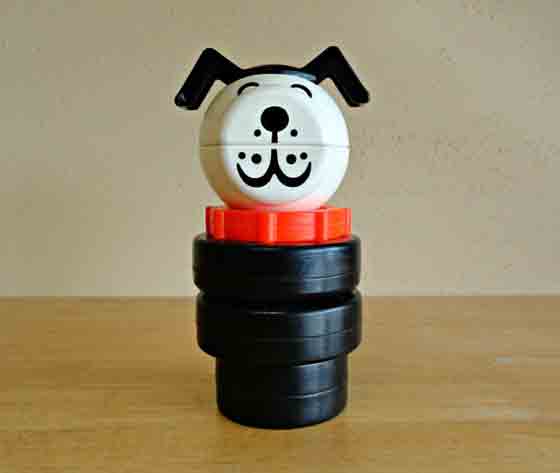
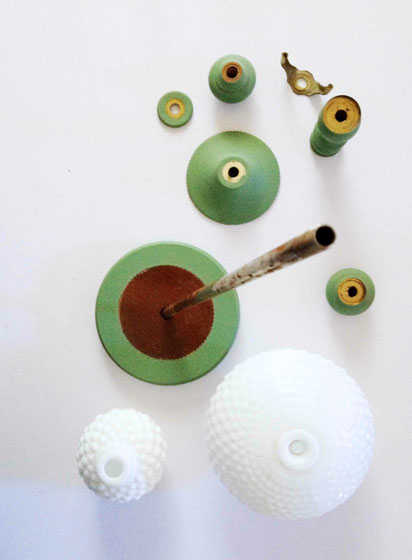
Before I started painting, I needed to disassemble the lamp. It was pretty easy. I just had to remove the socket (where the light bulb goes) from the top of the lamp and then pull each piece off the metal pipe that held them all together. Writing about it now, it reminds me of this Fisher Price dog I had as a kid. Remember this little guy?

You can buy him here.

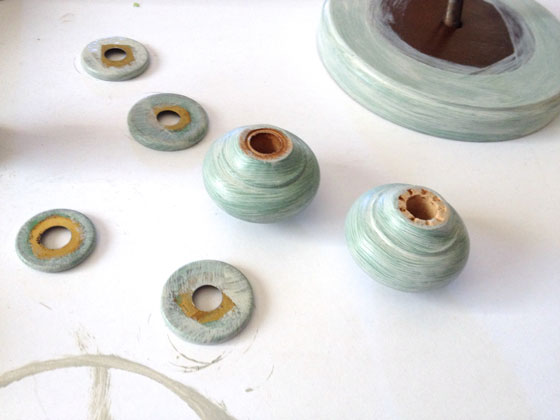
Once the lamp was disassembled, it was time for paint!

This was my first experience with Martha’s fairly-new line of craft paints, and I’m really happy with the quality. They’re nice and thick and give good coverage. Plus they come in a lovely assortment of colors and finishes, from matte to high-gloss and glitter too (if you’re into that sort of thing). I chose “Wet Cement” which is a lovely light grey. Since I was starting with a really dark color and trying to cover it with a really light color, it took quite a few coats (probably about 5 or 6). I absolutely should have used a primer first, but I didn’t think about it until it was time to paint. Next time I’ll remember (probably not).

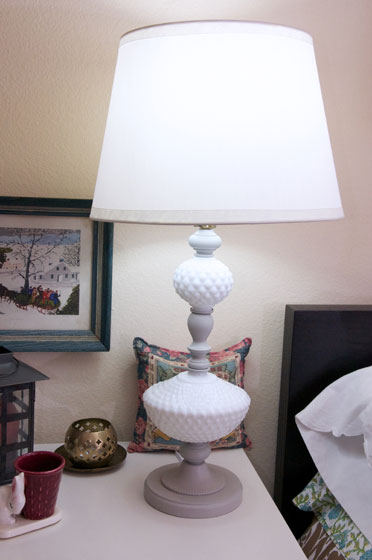
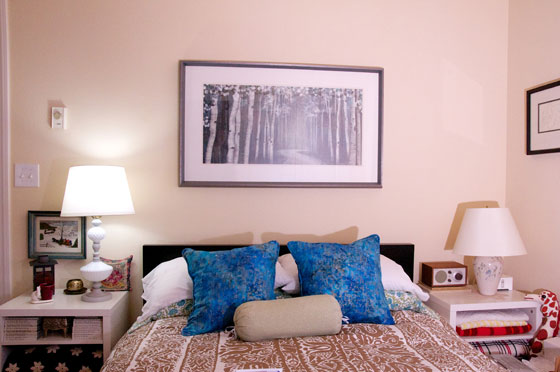
Once I’d applied enough coats of paint and everything had dried nicely, I just reassembled all the pieces on the metal pipe (As you may have noticed, I changed the order a little.). Then I fished the new plug wire up through the pipe until it came out the top of the pipe. I connected the wires to the new socket and screwed it to the top of the pipe (the basic instructions are on the back of the package). And here’s what she looks like now:

As you can see, there’s still a thousand colors going on in here. This room is a bit of a hot mess, but Ms. Lamp is doing her best to spiff things up a bit. Baby steps.

Anyone else working on a lamp makeover? Tell me all about it in the comments!

Posted in DIY | Tagged , , | Leave a comment

Knotted Jersey Headband

As usual, I’m trying to clean things up around the apartment. One way I’m doing this is to make better use of some of my stuff. Sometimes that means repurposing things into other thing that are more useful. Like this odd t-shirt I got for free several years ago when we ordered some t-shirts online.

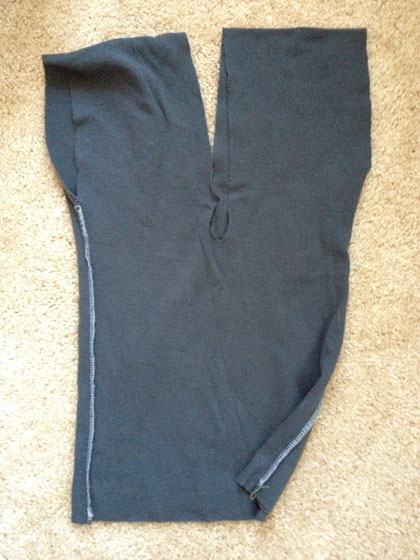
I think it was fashioned out of scraps of leftover jersey fabric. It’s way too small and oddly shaped, so I don’t wear it. But the other day I was looking for a way to pull my hair back and had an “Ah Ha!” moment when I realized I could repurpose this useless little t-shirt into something useFUL. Rock on!

I searched online for t-shirt headband tutorials and found tons. I liked the knot design of this one. And I liked how this one made a much thicker headband. I also liked the way she finished it off by sewing it together (I didn’t want to have to tie it each time on put it on.).

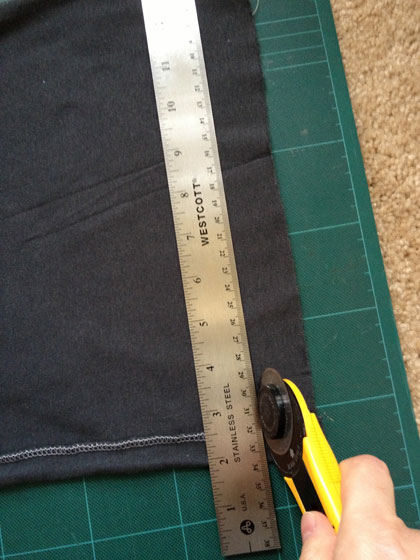
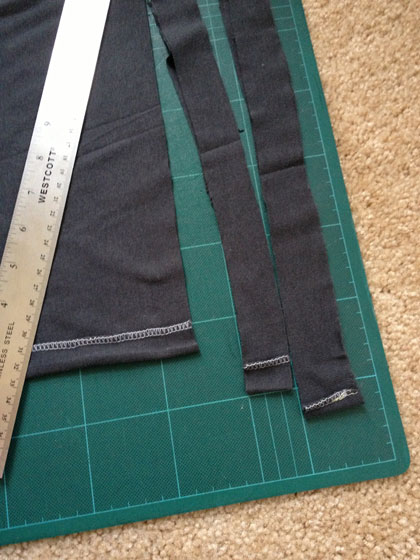
So I started cutting my t-shirt into strips from the bottom.

But when I stretched the strips to make the edges curl like the tutorial instructed…

I got this:

Yep, a whole lotta not-curled edges.

So I tried cutting two more strips in the opposite direction (from shoulder to bottom of shirt), thinking maybe because this shirt was made from a remnant, it was sewn together oddly.

Nope. Still flat.

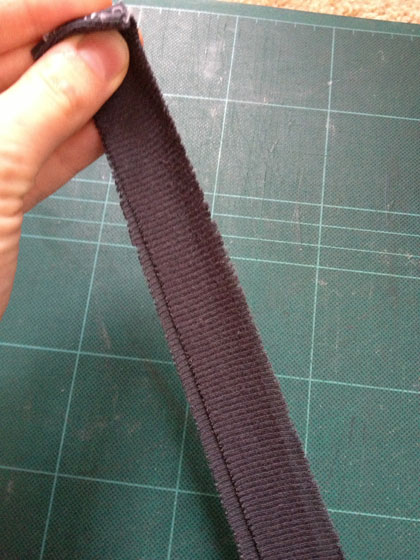
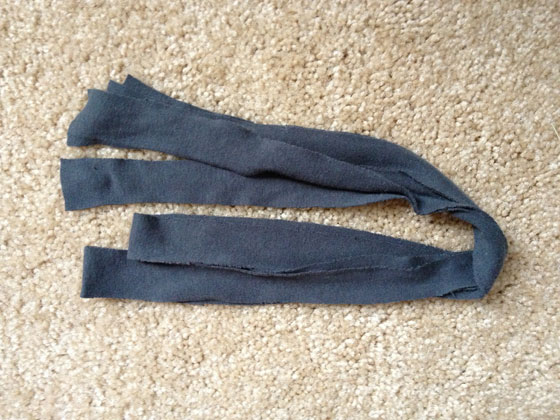
Time to find a new shirt. I will not be deterred! Luckily, a few years ago I made a shirt I didn’t like. It was destined to become a headband! So I cut it into strips from the bottom like I showed above and ended up with this…

Yay for curled edges!

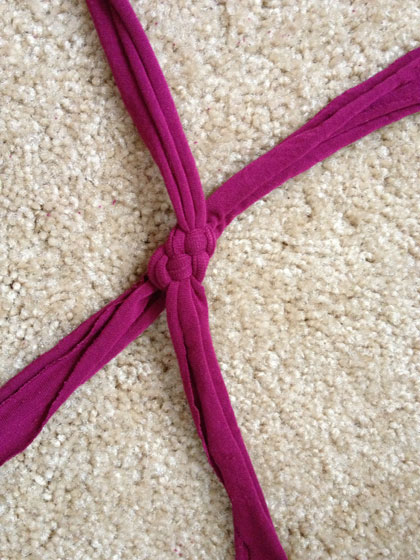
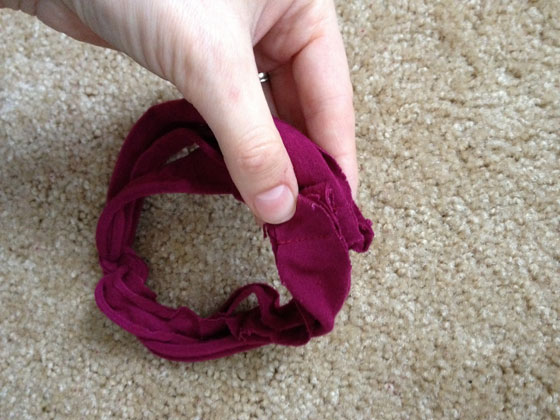
Then I followed this tutorial to make the decorative knot. Here’s what I ended up with:

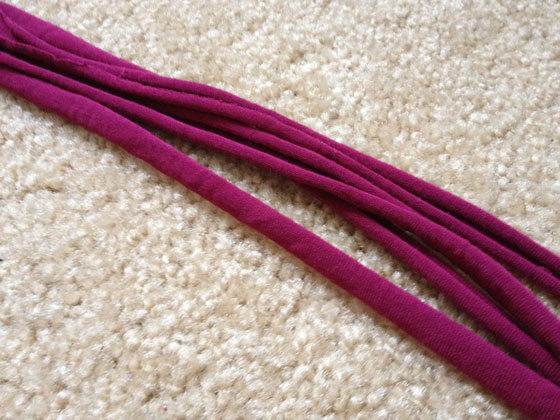
Then I just gathered all the edges together like this:

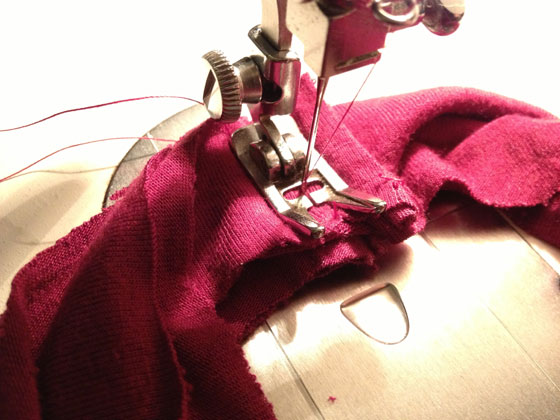
…and sewing them on my machine like this:

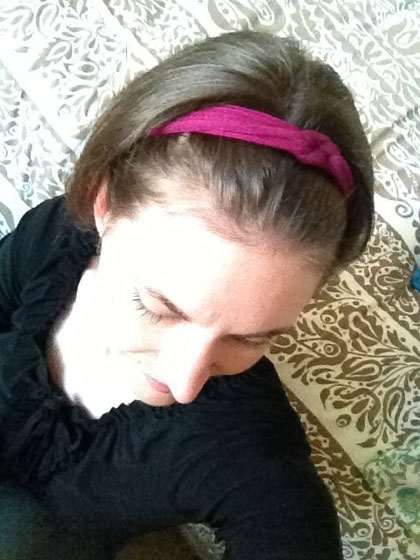
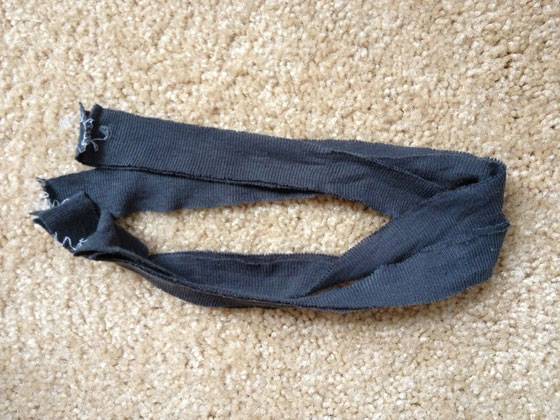
Easy peasy. Here’s the final headband:

It’s not fancy, but it does the trick and looks pretty nice for just hanging around the house. Anyone else have a tutorial about making a headband out of a t-shirt (or other article of clothing or fabric remnant)? I’d love to hear about it in the comments!

Posted in DIY | Tagged , | 1 Response

12 goals for 2012: An Update

Way back in January of this year, I posted a list of goals for myself. I thought it was high time for me to update everyone on my progress. So here’s where I’m at:

  1. Finish knitting the wrap sweater I started 3 or 4 years ago.
  2. Photograph the collection of childhood sweaters my Nana crocheted for me as a kid. Read about it here.
  3. Create 5 free printables for blog.
  4. Use up entire stack of printmaking paper.
  5. Make a linocut you’re really proud of (this will aid in accomplishing item #4).
  6. Read a book.
  7. Send some of your food photos to a magazine and see if they will print them.
  8. Make a spring wreath out of crepe paper.
  9. Design a website pro bono.
  10. Find a new recipe and make it.
  11. Sew a shirt.
  12. Frame a piece of artwork.

Not amazing, but actually better than I thought (is that sad?). I’m not giving up just yet. I may not complete everything on the list, but I’m sure gonna try. Stay tuned.

Posted in Lists | Tagged , | Leave a comment

Project Descriptions Are Up!

Just a quick post to let ya’ll know that, as promised, the project descriptions have all been added and/or updated on my site. For all those interested in learning more about my design process, head on over to the Work section of my site.

Posted in News | Tagged | Leave a comment

New Website For Meadow’s Mirth Farm

I redesigned the Meadow’s Mirth website (back in January of this year) as a custom WordPress theme. Even though it’s been up for over half a year, I thought it might be nice to give a little more detail on the project. Here’s what the site looked like before:

I actually designed this site for Jean and Josh, the owners of Meadow’s Mirth, way back in the day. It was one of the first websites I ever created and coded. At the time, it was quite the envy of some of the other organic farmers in their community, but lately it was starting to feel pretty dated. It was definitely time for an update.

We decided to create the new site using WordPress, which allows them to log in to the website to make changes and updates without any major coding knowledge (Although Jean has been known to rock an HTML tag from time to time.). WordPress provides an easy-to-use interface that makes the task of updating text and photos on your site a snap. Plus, it saves the client money because they don’t have to pay for web maintenance, and everyone likes saving money. I’m really happy with how it turned out (so are Jean and Josh!). Here’s what it looks like now:

Check out the full site here, and if you live on the seacoast of NH, stop by the farm or visit one of the markets where Jean & Josh sell their delicious produce. Get all the info here.

Posted in News | Tagged , | Leave a comment

FGD Website [Re]design!

It’s official, my new website (redesigned using WordPress!) is up and running, and it’s lookin’ pretty spiffy around here. There have already been so many great responses to it, so let me just say a big “Thank you!” to everyone who’s taken the time to check out the new site! As with anything new, there are still things that need tweaking, and a couple of you have already caught a few of those things – good eye! I’ll be updating things in the coming days and weeks, so please keeping stopping by to see what’s new. In fact, I think a handy little list of all the big plans I have might be helpful. So here you go, a list of everything you can expect to see on the site in the next few weeks:

1. MORE COPY. You may have noticed some of the copy is pretty slim on the portfolio pieces, well that’s going to change. I intend to give a helpful explanation about each project including project goals, why certain choices were made and how the website, logo etc came to look the way it does. I think this will be really helpful to potential clients perusing my work.

2. MORE PHOTOS. If there’s one thing I’ve learned about the web, it’s that images make all the difference, especially on blogs. It’s always so defeating to read the first paragraph about someone’s amazing kitchen redesign and then to excitedly scroll down, looking for the photos, only to find three teeny tiny images you can barely see. Annoying. Well, you won’t find that here. No-sir-ree-bob, I’ll be adding photos like a crazy woman. More photos of my work. More photos on my blog. More photos!

3. Speaking of more photos on my blog…How about MORE BLOG POSTS in general? Lots more. My old site didn’t have a blog, so I created one using Blogger. It was great for a long time, but people couldn’t keep track of all the addresses, which complicated things a bit. This is one of the reasons I chose to redesign my site using WordPress. Being able to combine my blog with the rest of my site was huge. Everything is much more streamlined now, and people don’t have to go to two different spots and remember two different web addresses anymore. Everything is together in one neat little package at one easy-to-remember location. I have more than a hundred posts to move over from Blogger, plus I have big plans for new posts here. First up, I know some of you have been patiently waiting for me to post about our road trip experiences (I’m talking to you Mom.). Don’t worry, I haven’t forgotten. Road trip deets are coming soon!

So there you have it. Lots of exciting stuff happening over here, so please stop by often and tell your friends. And now, lest I be guilty of not adding any photos (the importance of which was discussed in item #2 above), here’s a big, beautiful photo for ya…

Posted in News | Tagged , | Leave a comment

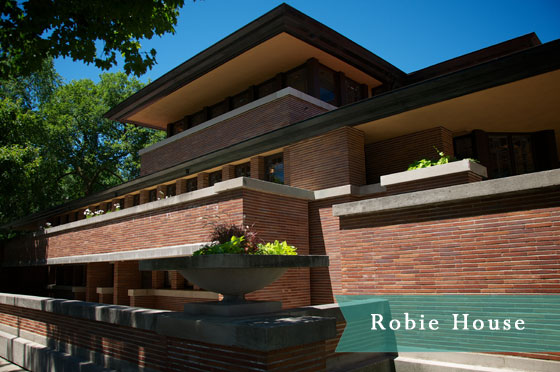
Visiting Robie House

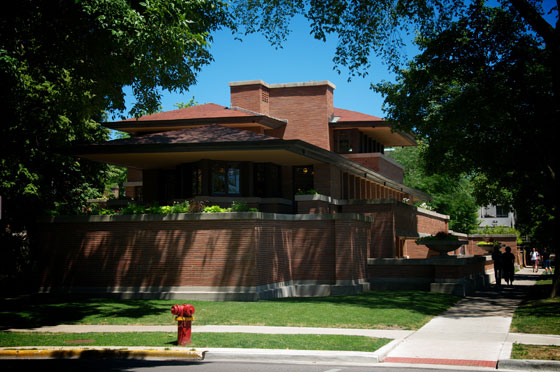
We left Jerry and Sarah’s house early Monday morning and continued west to Illinois. First on the day’s list was a visit to Frank Lloyd Wright’s Robie House in Hyde Park, a neighborhood in Chicago, IL.

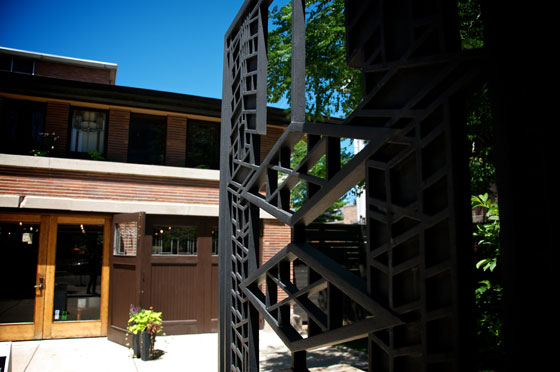
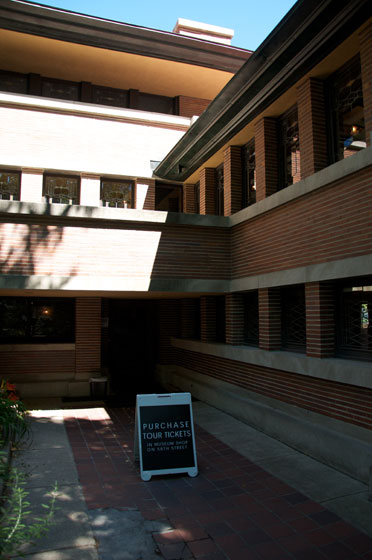
We got there a bit early, so we checked in at the front desk and then went for a quick walk around the block while we waited for our two o’clock tour. I absolutely loved the wrought iron gates that lead you into the court yard (The doors in the background lead to the gift shop where you check in.).

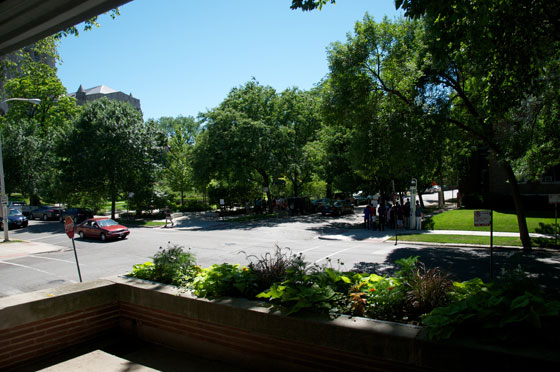
It was a gorgeous sunny day. Perfect for a little walk…

Well, what do you know? It’s time for our tour…

  • House Name: ROBIE HOUSE
  • Designed For: FREDERICK & LORA ROBIE
  • Built: 1908 TO 1910
  • Location: HYDE PARK, CHICAGO, ILLINOIS

We all gathered in the court yard where Bob, our tour guide, gave us some history of the home.

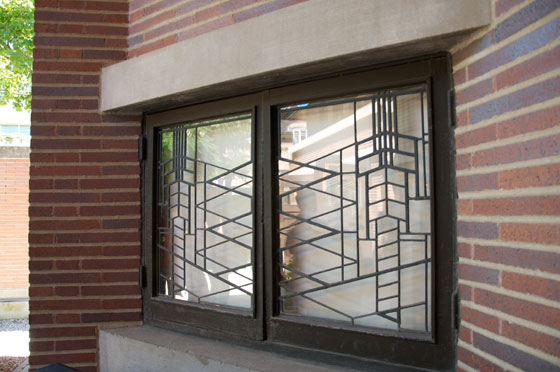
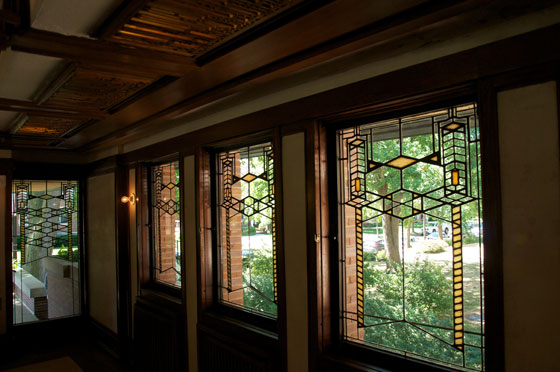
Look at this amazing leaded glass window:

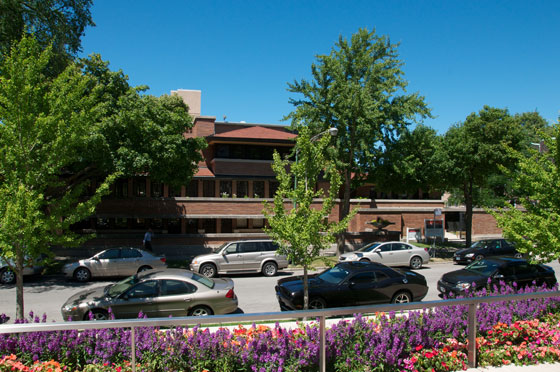
Before we entered the home, Bob walked us across the street to view the property from afar.

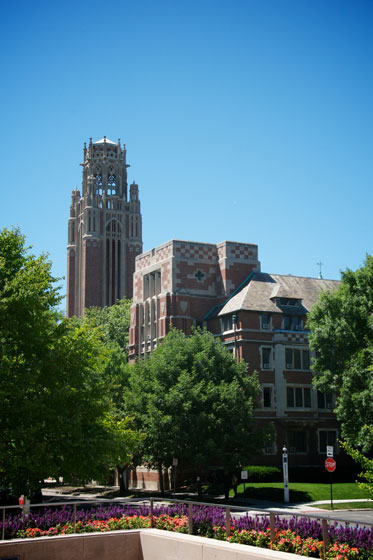
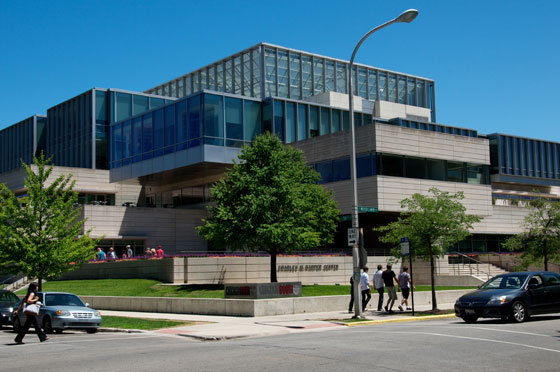
And to compare it to the other buildings nearby. Some being much more modern.

Then it was back to Robie House and into the basement level. Although the first phase of a major refurbishment was just completed on the property (I believe just the exterior was addressed in this phase.), there’s still LOTS to do to bring it back to its former glory, so I didn’t take any pictures of the crumbling, dingy basement where we watched a twenty minute video.

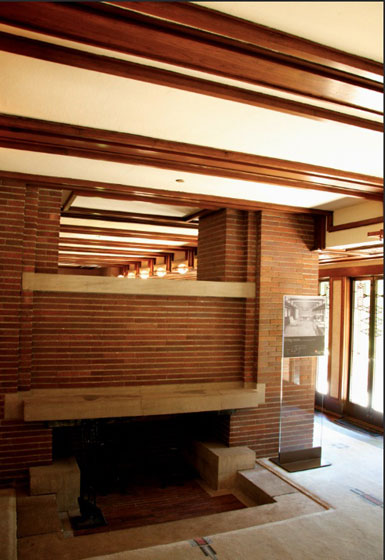
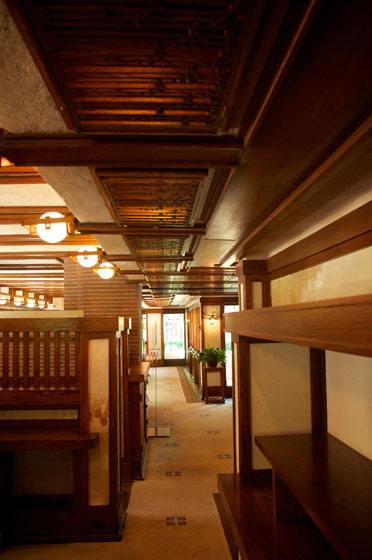
Finally we got to see the main floor (the third floor isn’t open to the public right now), which consisted of mainly a living room and dining area with this amazing fireplace in the center of the room.

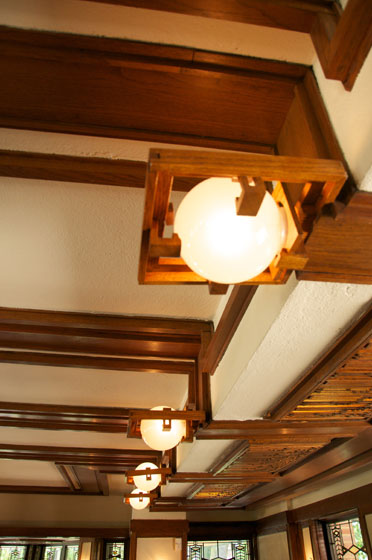
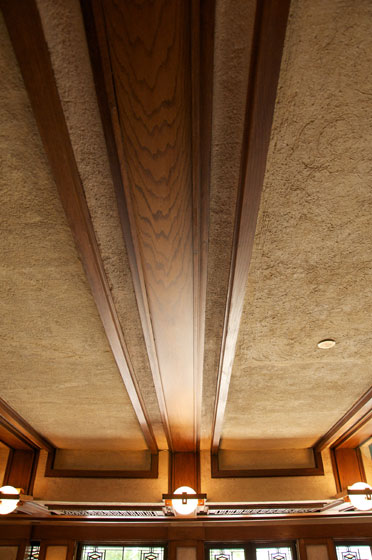
I was especially intrigued by the wooden moulding and the lighting.

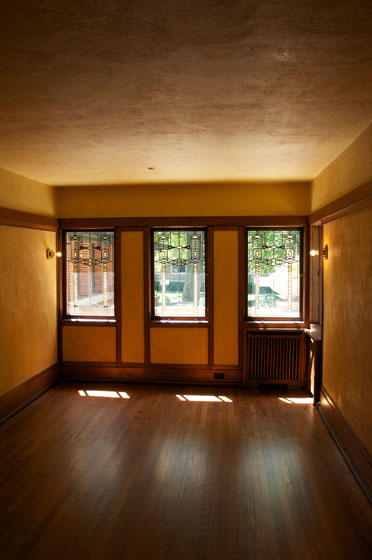
This part of the tour is a little hazy. I can’t remember if we went downstairs to get to this bedroom (is it a bedroom?) or if it was on the same floor as the living/dining room.

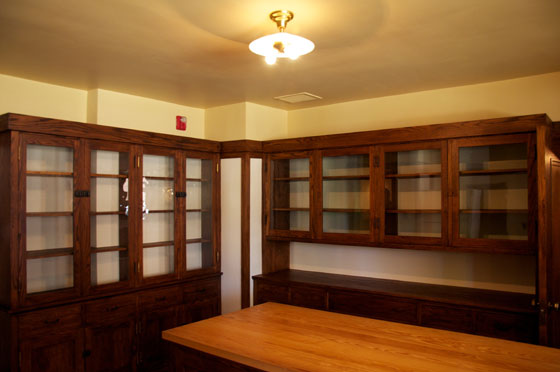
From there we went to the kitchen, which definitely needed lots of work to bring it back to its former glory, but you could tell from this nice bank of cabinets it had potential.

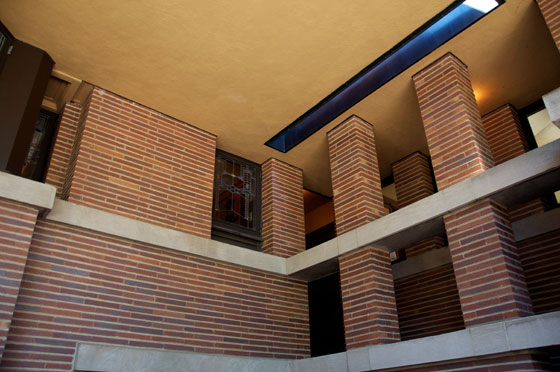
Then it was back to the court yard where we started. I love this awesomely-ahead-of-its-time skylight in the overhang of the roof. So cool.

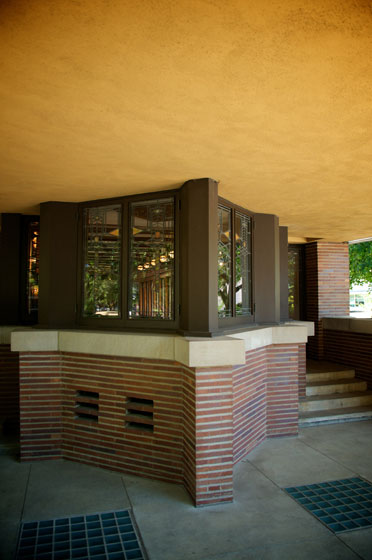
After Bob completely his part of the tour, he encouraged us to check out the small patio off the main living area.

Here’s the view from the patio:

Although Robie House definitely wasn’t one of our favorites (I think the tour will be much better once they finish the refurbishment.), it’s a really important structure that affords us a view into the early mind of Frank Lloyd Wright (He was only 28 when he designed it.). Definitely worth a visit.

Posted in I went there! | Tagged , , , , , | 1 Response

Cleveland Rocks!

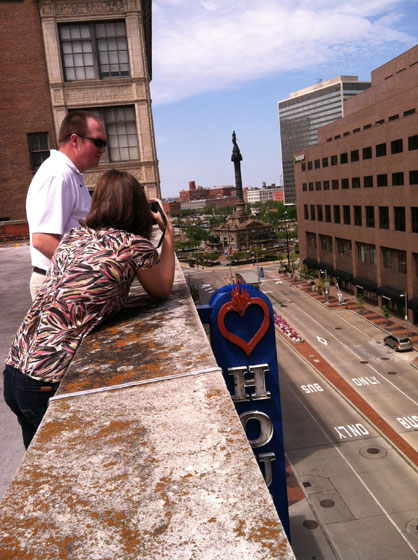
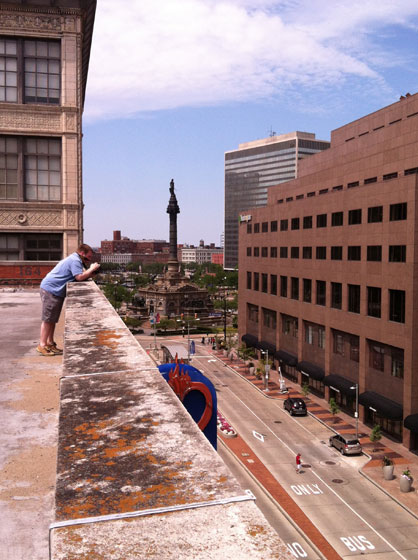
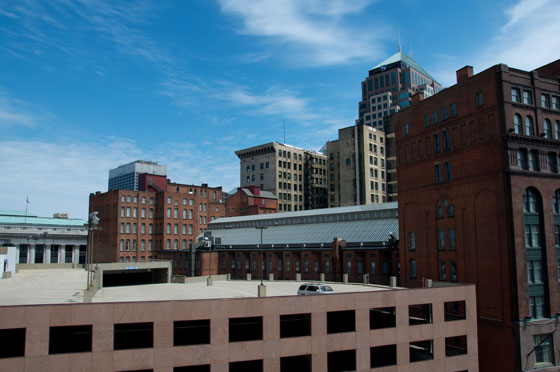
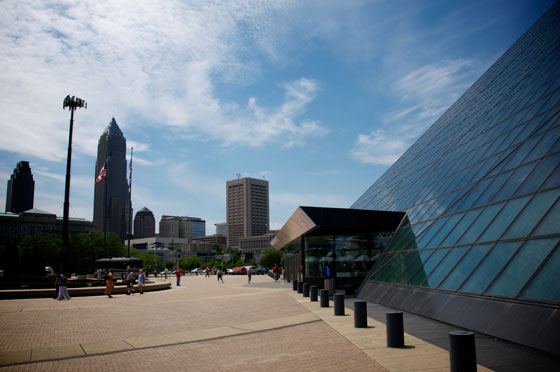
Saturday morning Jerry and Sarah took us to the top of the building where Jerry works. We got some great shots of the city, including the House of Blues sign.

One of the buildings in the area was sporting this fabulous diagonal stripe, clearly the former location of a fire escape. It’s interesting to see evidence of days gone by.

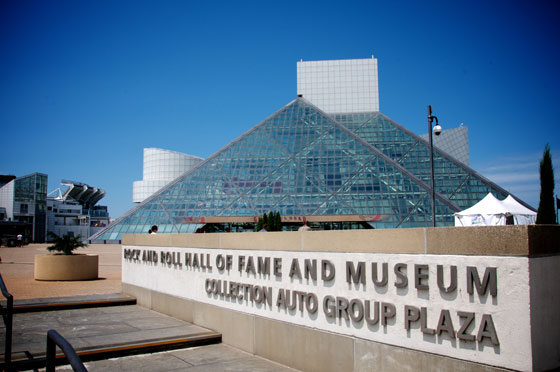
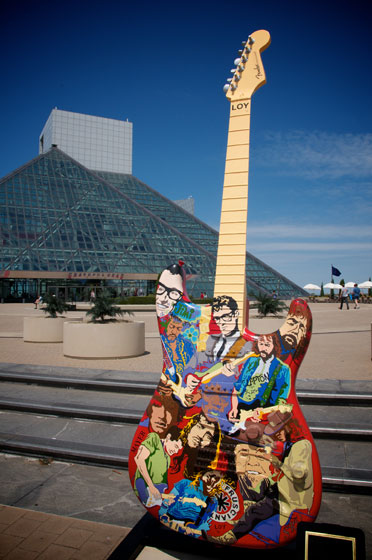
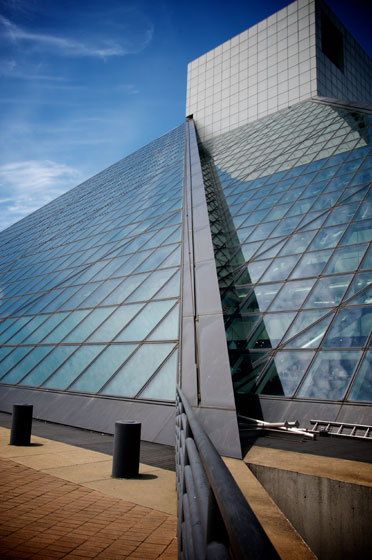
Next we headed over to the Rock and Roll Hall of Fame designed by one of my favorite architects, I.M. Pei.
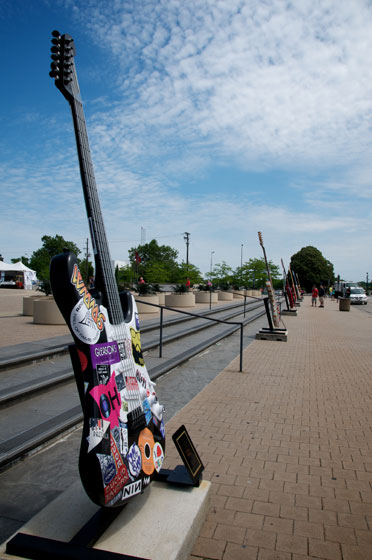
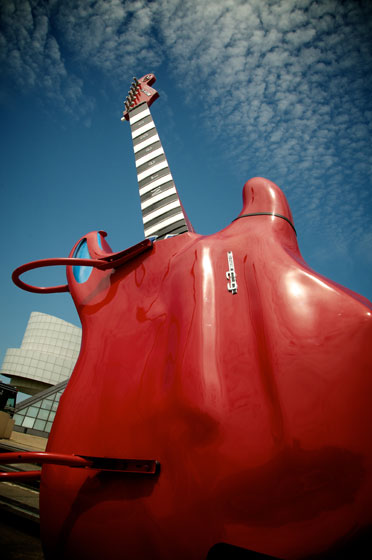
We decided not to spend the time, and rather pricey entrance fee, touring it this time. We’ll catch it on the next visit to Cleveland. We did get to check out this pretty cool line up of hand-painted guitars on display outside the museum though.
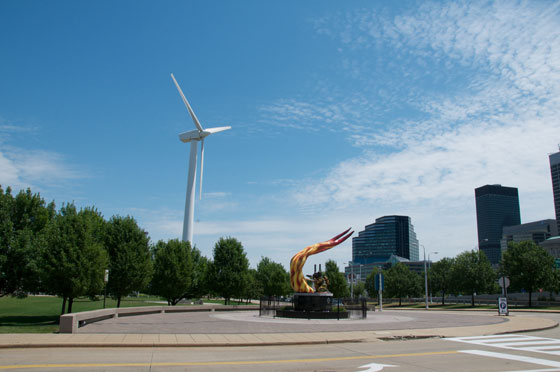
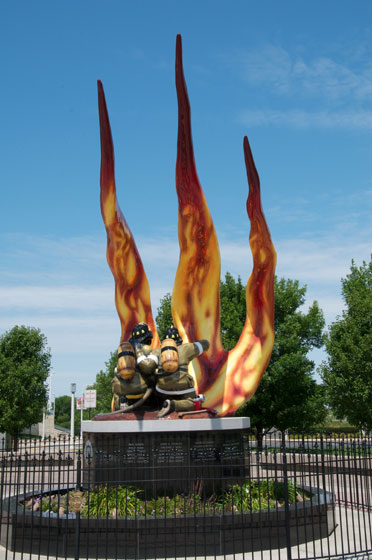
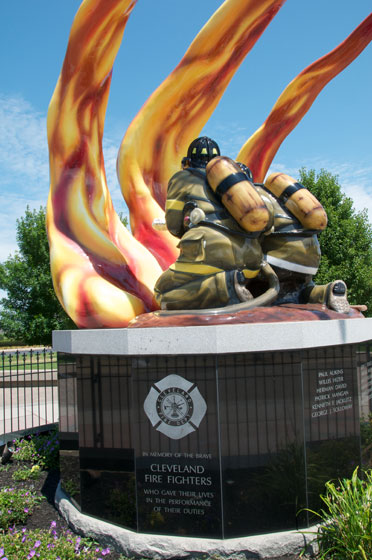
After that, we walked over to this windmill and a memorial dedicated to Cleveland fire fighters.

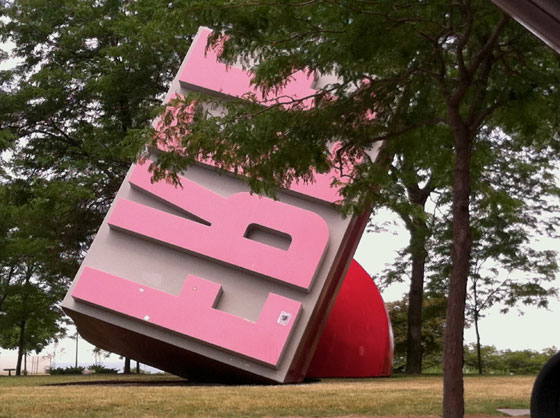
The Cleveland fire fighters memorial used to be located in Willard Park, a public park adjacent to city hall. The park is now the home of the Free Stamp sculpture, which is supposedly the world’s largest rubber stamp.

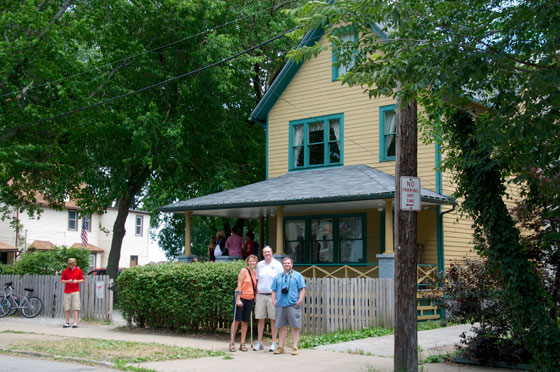
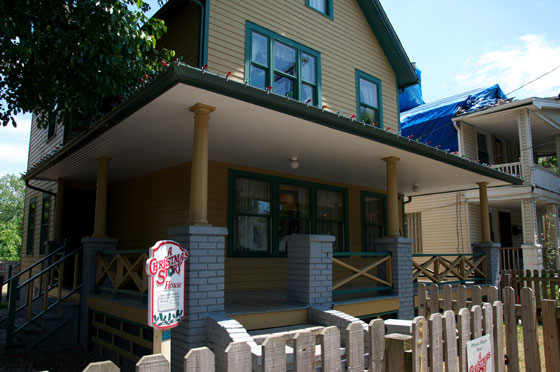
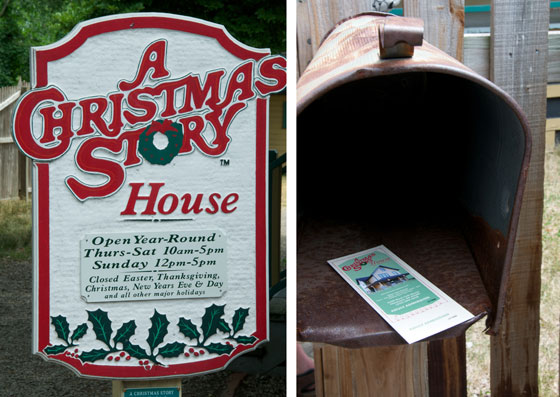
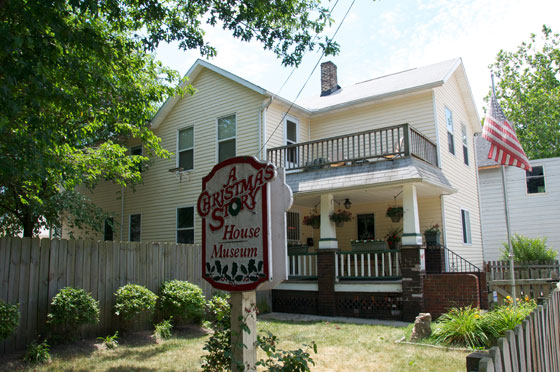
After our awesome, whirlwind tour of downtown Cleveland, Sarah suggested we tour the house used in the movie A Christmas Story. This house is a little gem hiding in the burbs of Cleveland.

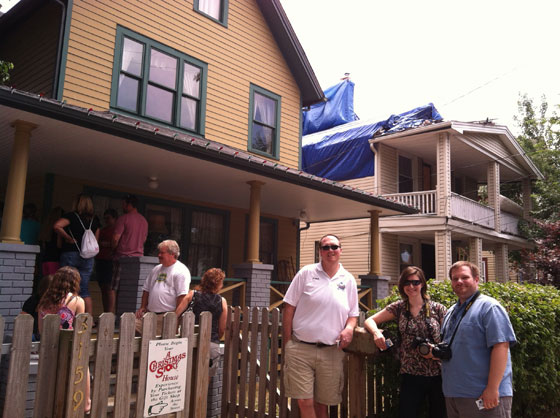
We bought our tickets and waited outside for our turn to see all the magic inside.

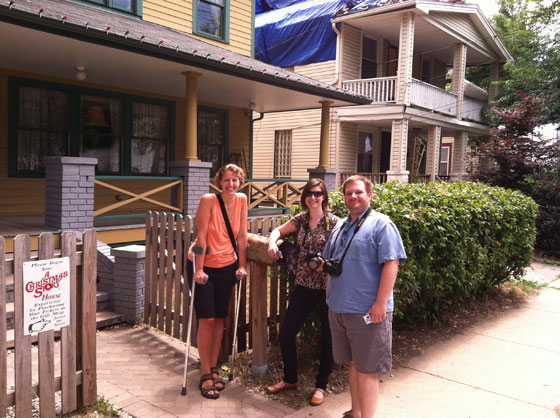
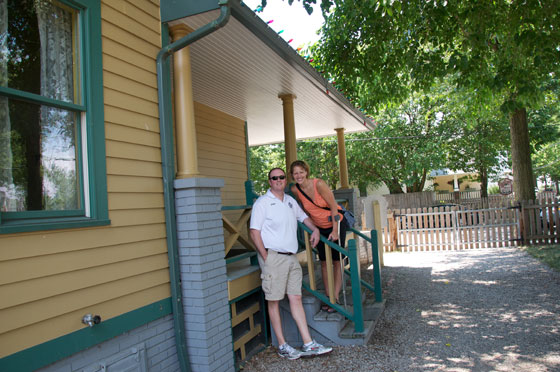
While we were waiting, we took a bunch of photos. Unfortunately, the house next door was having a lot of work done so Mr. Blue Tarp is in the background of a lot of the exterior shots.

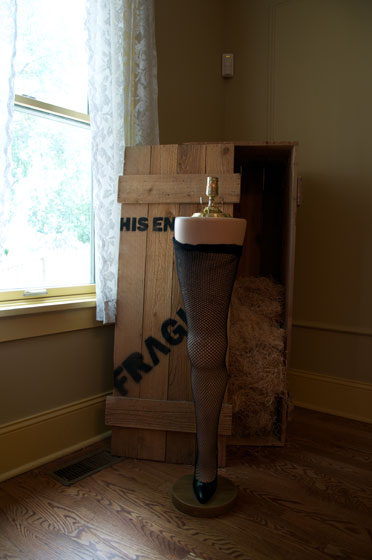
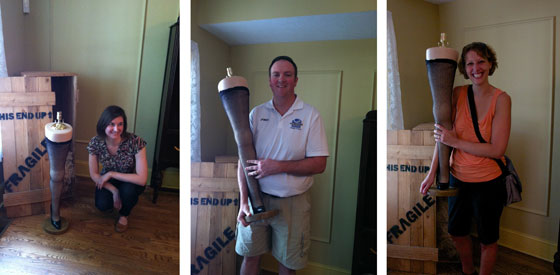
Finally it was our turn. The leg lamp was waiting for us as soon as we entered the house.

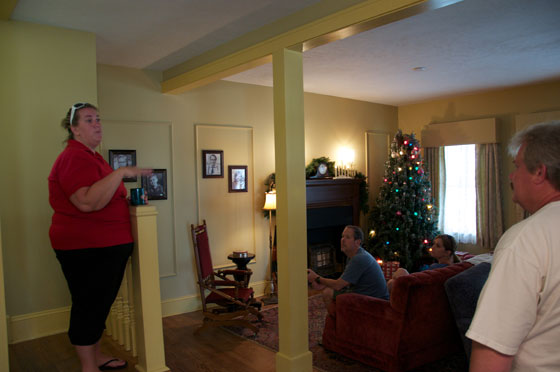
Then a nice lady gave us some history about the making of the movie, explaining that although only the exterior shots were filmed here in Cleveland, they decided it would be fun to set up the inside of the house to look just the way it did in the movie.

She then said the most wonderful thing I’ve ever heard escape the lips of a tour guide: “Feel free to pick up the leg lamp and take your picture with it.” We can touch the leg lamp? Why yes. Yes you can. So, of course we had to (At least Jerry and Sarah did.).

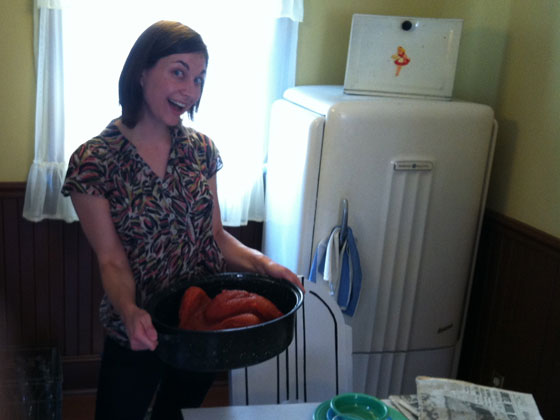
In fact, they let you touch ALL of the props in the house. All. The. Props. From this point on, I pretty much look like a crazed lunatic pretending to take a plastic turkey out of a cold oven and bring it to a table in a fake kitchen.

Come on. How can you NOT get excited about props! They had a fake turkey. A fake turkey!

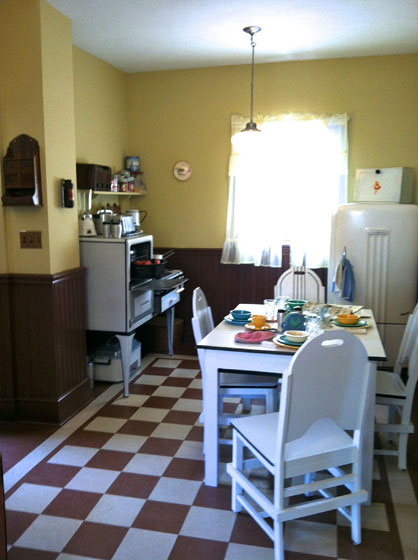
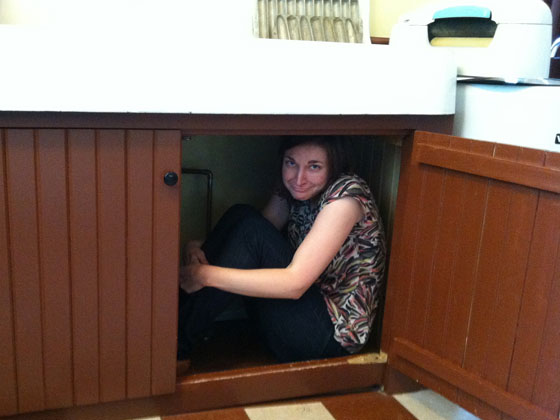
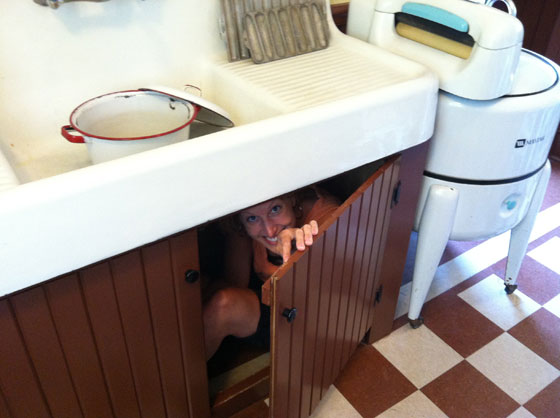
So we set out to recreate all the kitchen scenes. We hid under the sink like Randy.

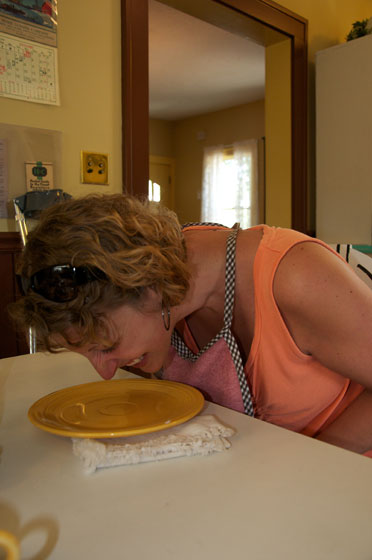
Sarah showed us “how the piggies eat”…

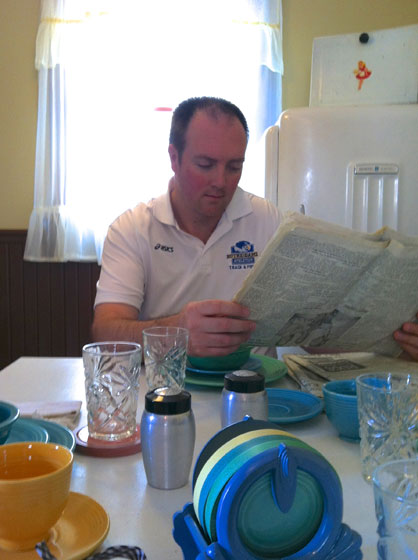
while Jerry read the paper (I love this shot. It cracks me up.).

Unfortunately, I was so distracted by all the props in the kitchen that I completely missed the Red Ryder BB Gun prop. I really regret not getting a shot of one of us holding the gun off the back porch. My one solace is that no one shot their eye out.

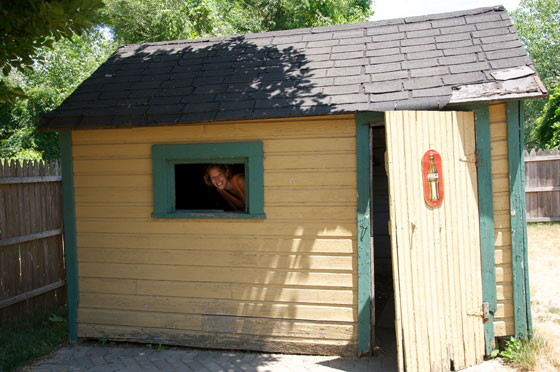
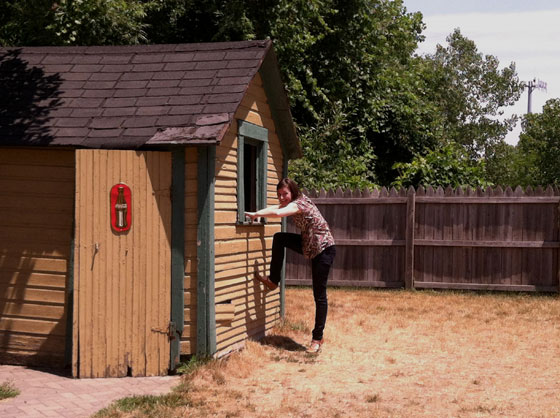
We did get to pose in and around the shed though.

This is me trying to “break in” like the robbers. To be honest, I don’t even remember this scene. It’s a good thing Sarah was there to remind me of it.

Now, you may have noticed Zach didn’t pose with the leg lamp. You may also have noticed Zach didn’t pose with ANY of the props. Don’t get me wrong, he enjoyed the tour. As an observer. But because he loves me, he patiently tolerated my over-the-top excitement throughout the tour. He’s a keeper.

Okay, back to the props!

Upstairs they had the famed bunny suit on the bed in the boys’ bedroom. And here’s the crazy thing: You can put in on! If we had had more time (and I didn’t think it would cause Zach to divorce me), I think I could have been convinced to don said costume. Yes, we’re dealing with some real mental instability here.

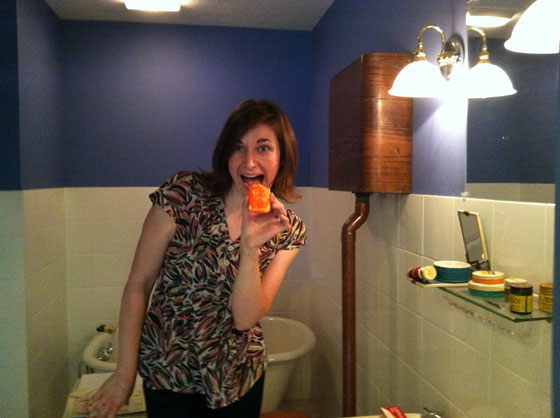
I SO wanted to accurately recreate the soap scene and put that bar in my mouth but had a moment of clarity and thought better of it listened to Zach when he suggested I not put a bar of soap touched by potentially thousands of people in my mouth.

As you can see, we had a blast recreating key scenes from the movie. So much fun.

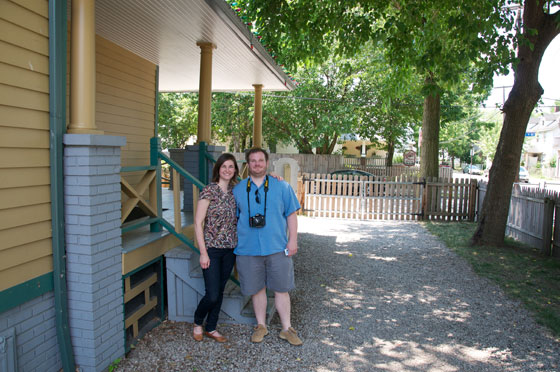
After the tour, we took a couple more shots by the house and then headed over to the museum.

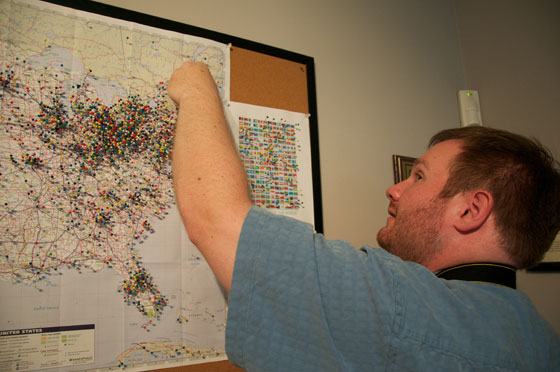
The museum had a map of the USA displaying pins that people had placed representing where they were from. Obviously Ohio was well represented, but there were pins from all over the country too. They also had a collection of world maps which showed a surprising number of people from other parts of the world. This was a prop Zach could get excited about. Well, at least not roll his eyes at.

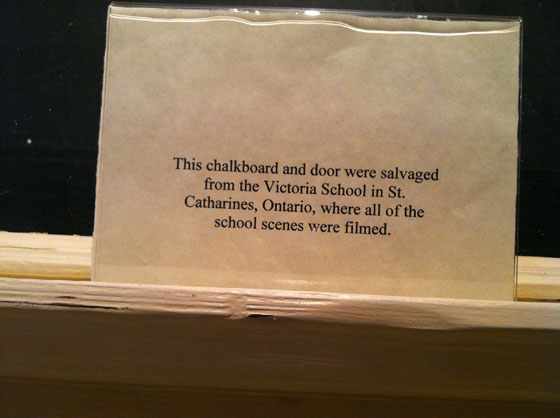
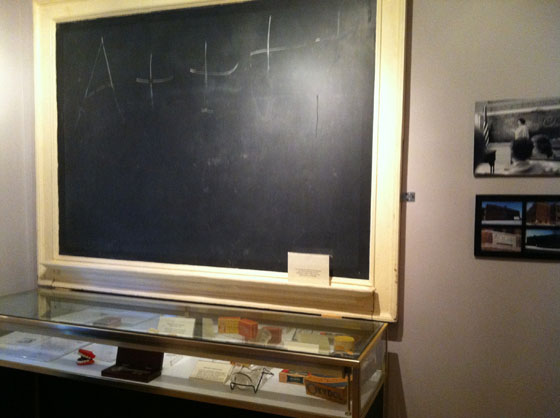
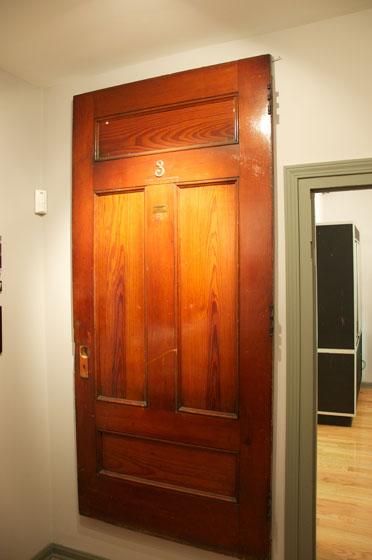
The museum had a diverse collection of props used in the movie including the door and chalk board used in the school house.

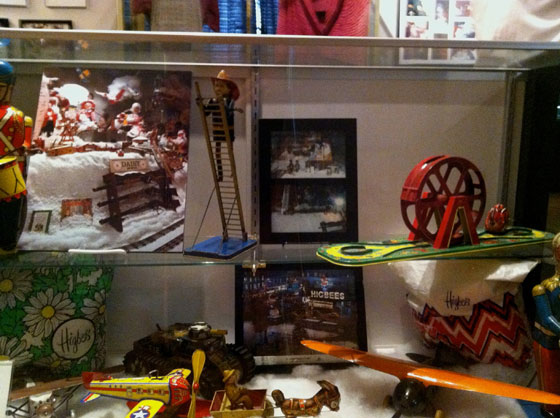
Here’s a collection of some of the toys used in the movie.

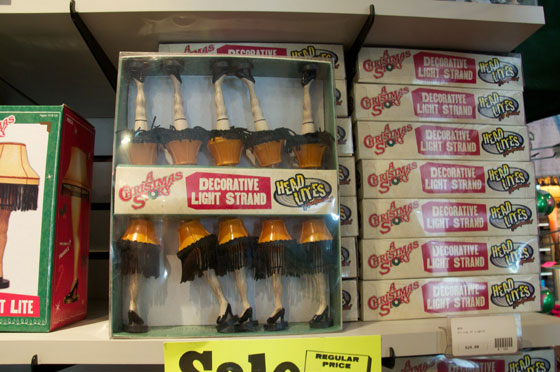
Of course no tour is complete without a trip to the gift shop. I particularly loved this strand of leg lamp lights.

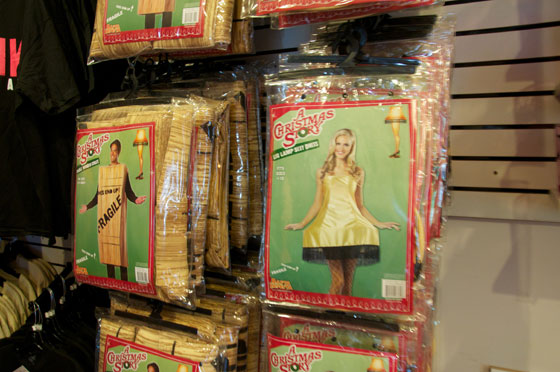
And this amazing leg lamp Halloween costume.

In the end, I resisted buying anything. Not even a magnet!

Has anyone else been to “A Christmas Story” house? Did you go nuts over the props, like I did, and carry a fake turkey to the kitchen table? Or did you feel more like hiding under the kitchen table in embarrassment, like Zach?

Posted in I went there! | Tagged , , , , | Leave a comment